Access ChatGPT for Free: A Zero-Cost Guide Without VPN or Foreign Phone Numbers
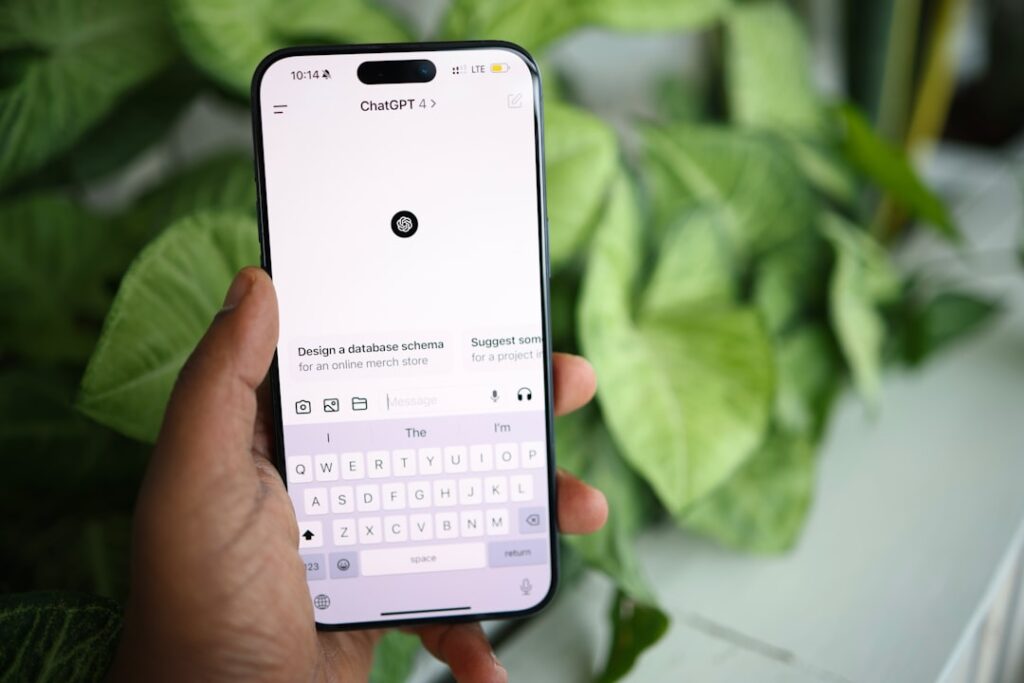
This guide provides a comprehensive walkthrough for accessing ChatGPT without requiring a VPN, VPS, or a foreign phone number. It caters to both desktop and mobile users, ensuring accessibility anytime, anywhere. This method is designed to be user-friendly, even for those with limited technical expertise.
Creating a ChatGPT Account
The first step involves registering for a ChatGPT account via the official website. Keep in mind:
- Initially, registration requires bypassing geographical restrictions (though the article provides methods to circumvent this).
- Avoid using Hong Kong-based internet nodes during registration, as ChatGPT does not support access from mainland China or Hong Kong.
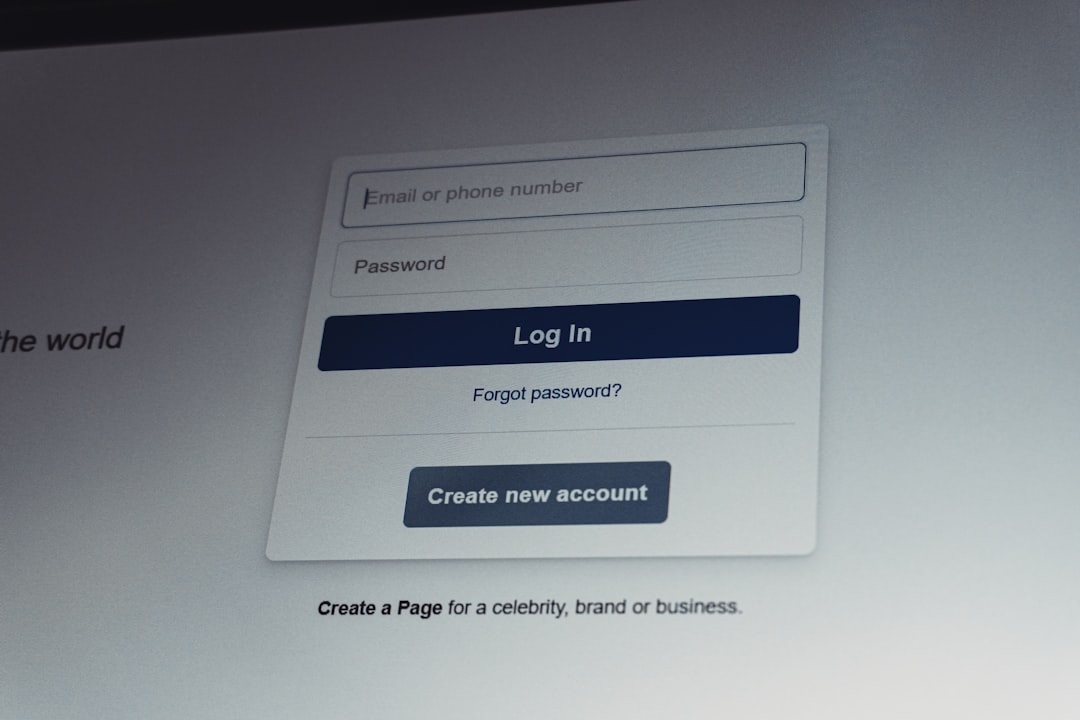
- Visit the ChatGPT website and click “Sign Up.”
- Enter your email address and create a password.
- Verify your email address by clicking the link sent by OpenAI.
- Fill in the required basic information and agree to the terms.
In some cases, phone number verification may be requested. If this occurs, try changing your internet node or using a Chinese (+86) phone number. After successful registration, users can immediately begin interacting with ChatGPT.
Utilizing ChatGPT’s API Key
To bypass the limitations of the web interface, such as geographical restrictions and frequent interruptions, users can leverage ChatGPT’s API (Application Programming Interface) key. This allows third-party applications to interact with ChatGPT. The API key is a sensitive credential and should be protected. The tutorial provides a method to obtain an API key even without phone verification.
To obtain the API key, follow these steps:
- Navigate to the OpenAI platform website.
- Log in using the credentials created during registration.
- Access the “API keys” section.
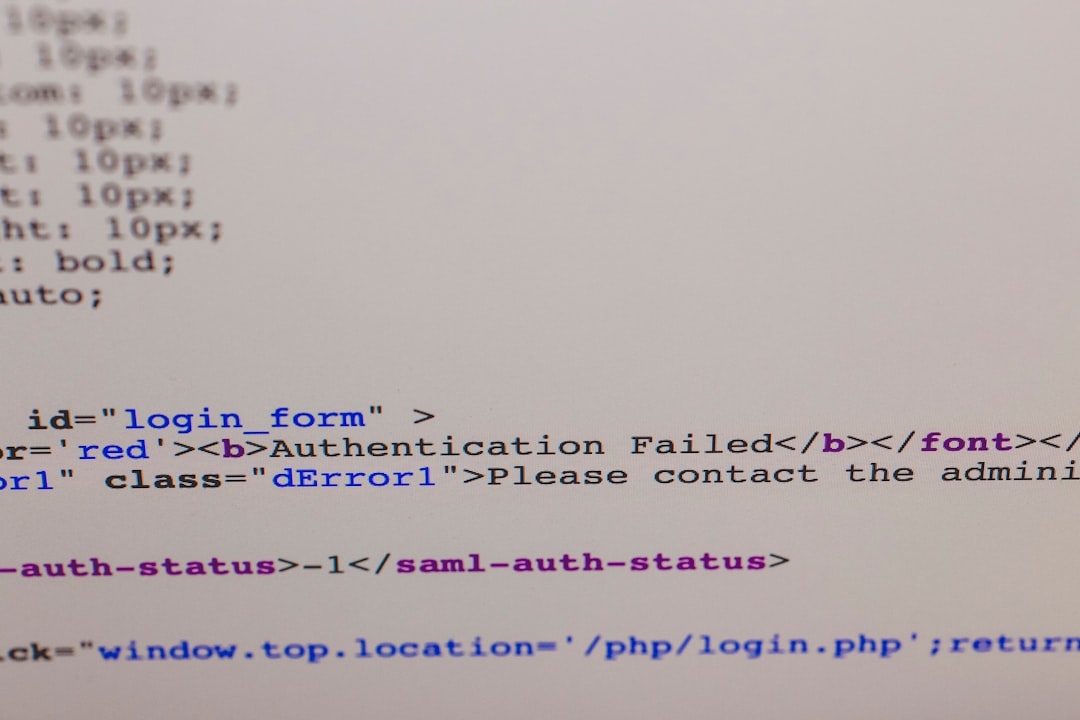
- If phone verification is not completed, open the browser’s developer tools (F12 or right-click -> “Inspect”).
- Go to the “Network” tab and refresh the page.
- Locate the “login” link (with a yellow icon) and inspect its “Response.”
- Find and copy the “sensitive_id,” which serves as the API key.
If the API key is compromised, immediately invalidate it by logging out and back into the OpenAI platform. This will generate a new key and invalidate the old one.
Integrating the API Key with a WebUI
A WebUI (Web User Interface) facilitates interaction with ChatGPT using the API key. The tutorial recommends an open-source WebUI project, offering two usage methods:
- Using the Author’s Hosted WebUI: This method is simpler for beginners.
- Open the provided WebUI link.
- Access the settings page (usually a gear icon).
- Locate the “Custom API Interface” section and enable it.
- Paste the obtained API key into the designated field.
- Self-Hosting a WebUI: This provides more flexibility and control.
The author-hosted WebUI provides a reverse proxy, allowing access to ChatGPT without bypassing geographical restrictions. However, this exposes the API key to the website provider. To mitigate this risk, configure the WebUI to use the official OpenAI API endpoint, but this requires bypassing geographical restrictions. Alternatively, users can set up their own reverse proxy using Cloudflare Pages.

Setting up a Reverse Proxy with Cloudflare Pages
To create a personal reverse proxy, follow these steps:
- Register for a Cloudflare account.
- Navigate to “Workers & Pages.”
- Create a new application and choose “Upload Assets.”
- Upload the provided “_worker.js” file (containing the reverse proxy code).
- Deploy the site.
- Replace the original API interface address in the WebUI with the new Cloudflare Pages URL.
- Consider binding a custom domain to the Cloudflare Pages project to avoid potential DNS issues.
Self-Hosting a WebUI for Advanced Users
For greater control and to overcome rate limits, self-hosting a WebUI is recommended. This also allows for API key rotation. The process involves:
- Deploying the WebUI project via GitHub.
- Creating a GitHub account (if needed).
- Installing the WebUI application on GitHub.
- Configuring API keys (multiple keys can be used, separated by commas, for rotation).
- Setting a password for the WebUI for security.
After deployment, the WebUI can be accessed via the assigned domain. To avoid domain squatting, bind a custom domain. Environment variables can be set to further customize the WebUI, such as disabling manual key input and enabling API balance checking. Redeployment is required for environment variable changes to take effect.
Finally, the tutorial explains how to delete the WebUI if it’s no longer needed.